

What you need
Before you start, get the following information from your Raily administrator:- Your connect link. A personal user or workspace Owner needs this MCP server URL to add one endpoint. For Raily-hosted sign-in, the administrator can copy it after granting access. An external provider does not use a Raily user grant.
- How to sign in. For Raily-hosted sign-in, use the email address your administrator granted. For your Organization’s identity provider, use your normal account there. A different account may be refused.
Choose your setup
Who adds the connector depends on your Claude plan.
If you are not sure which setup you have, open Claude settings. If you see Organization settings, use the managed workspace instructions.
Personal account
Use this path on Free, Pro, or Max.1
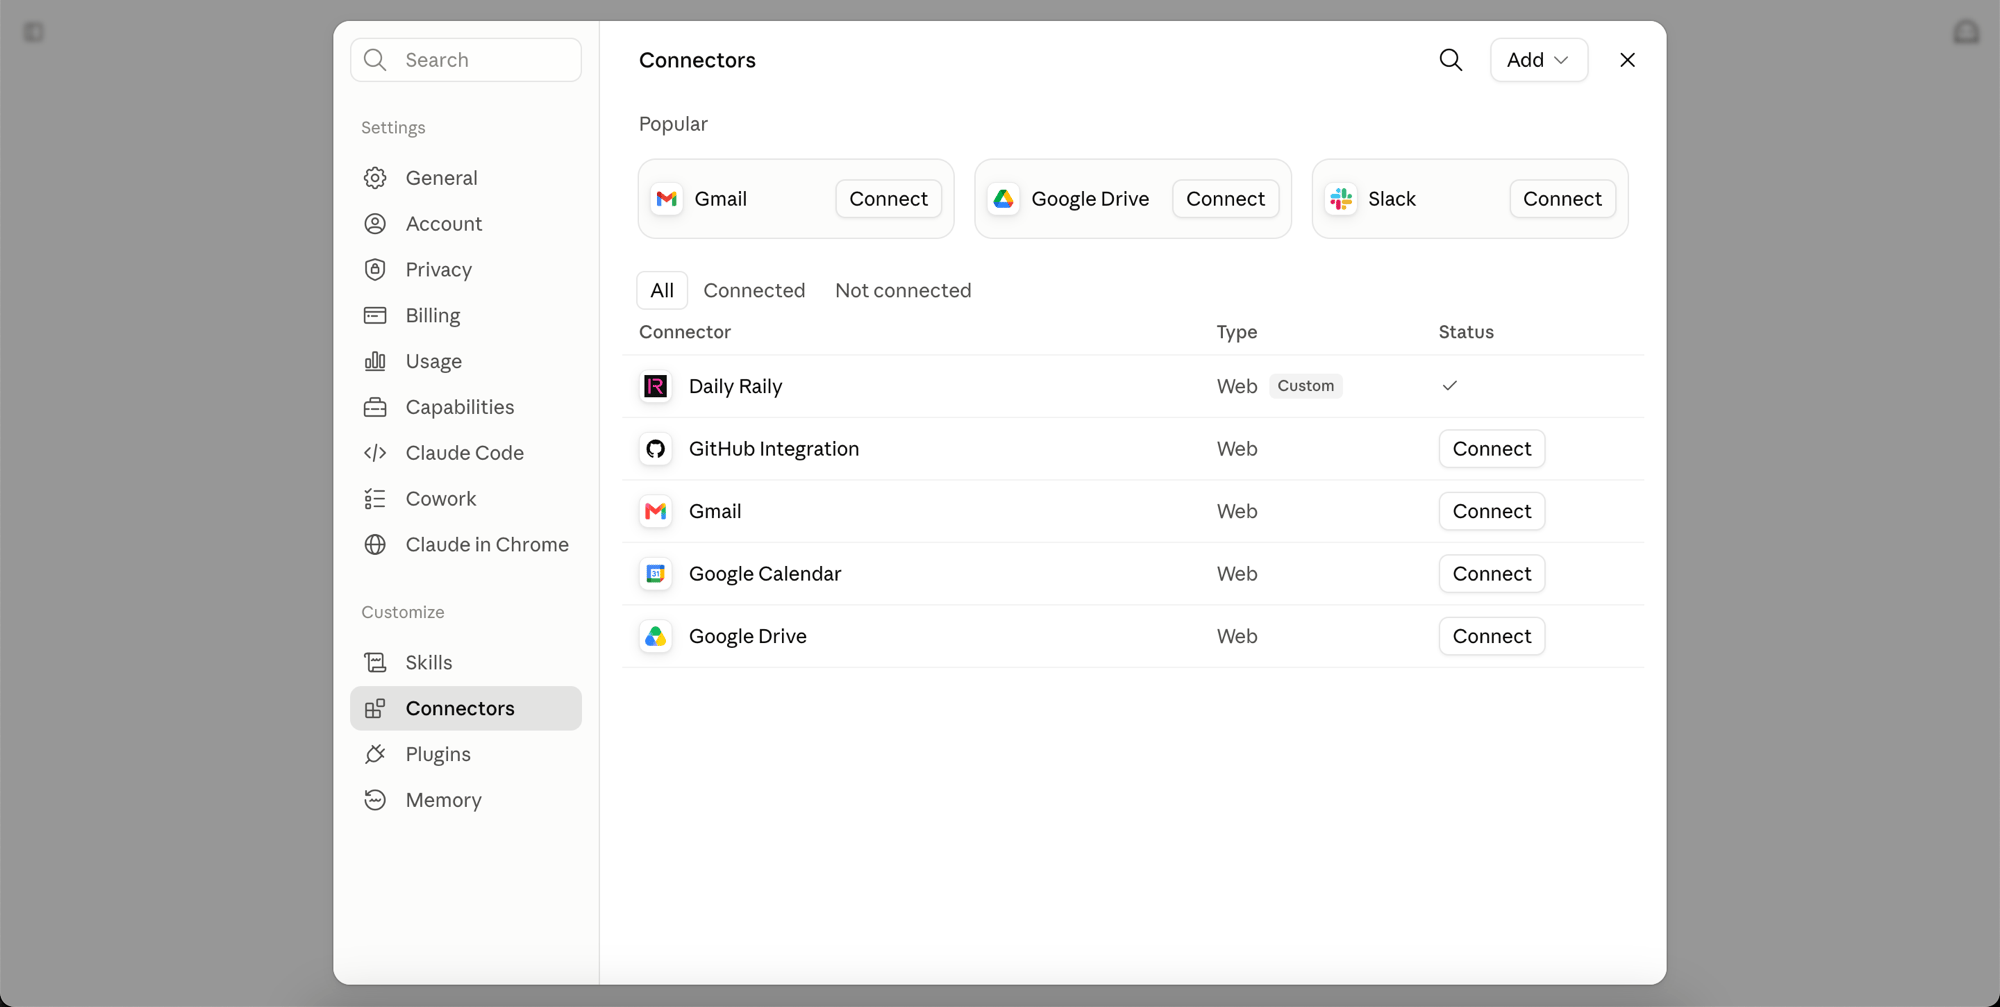
Open your connectors
Go to Customize, then Connectors.
2
Add a custom connector
Select Add, then Add custom connector.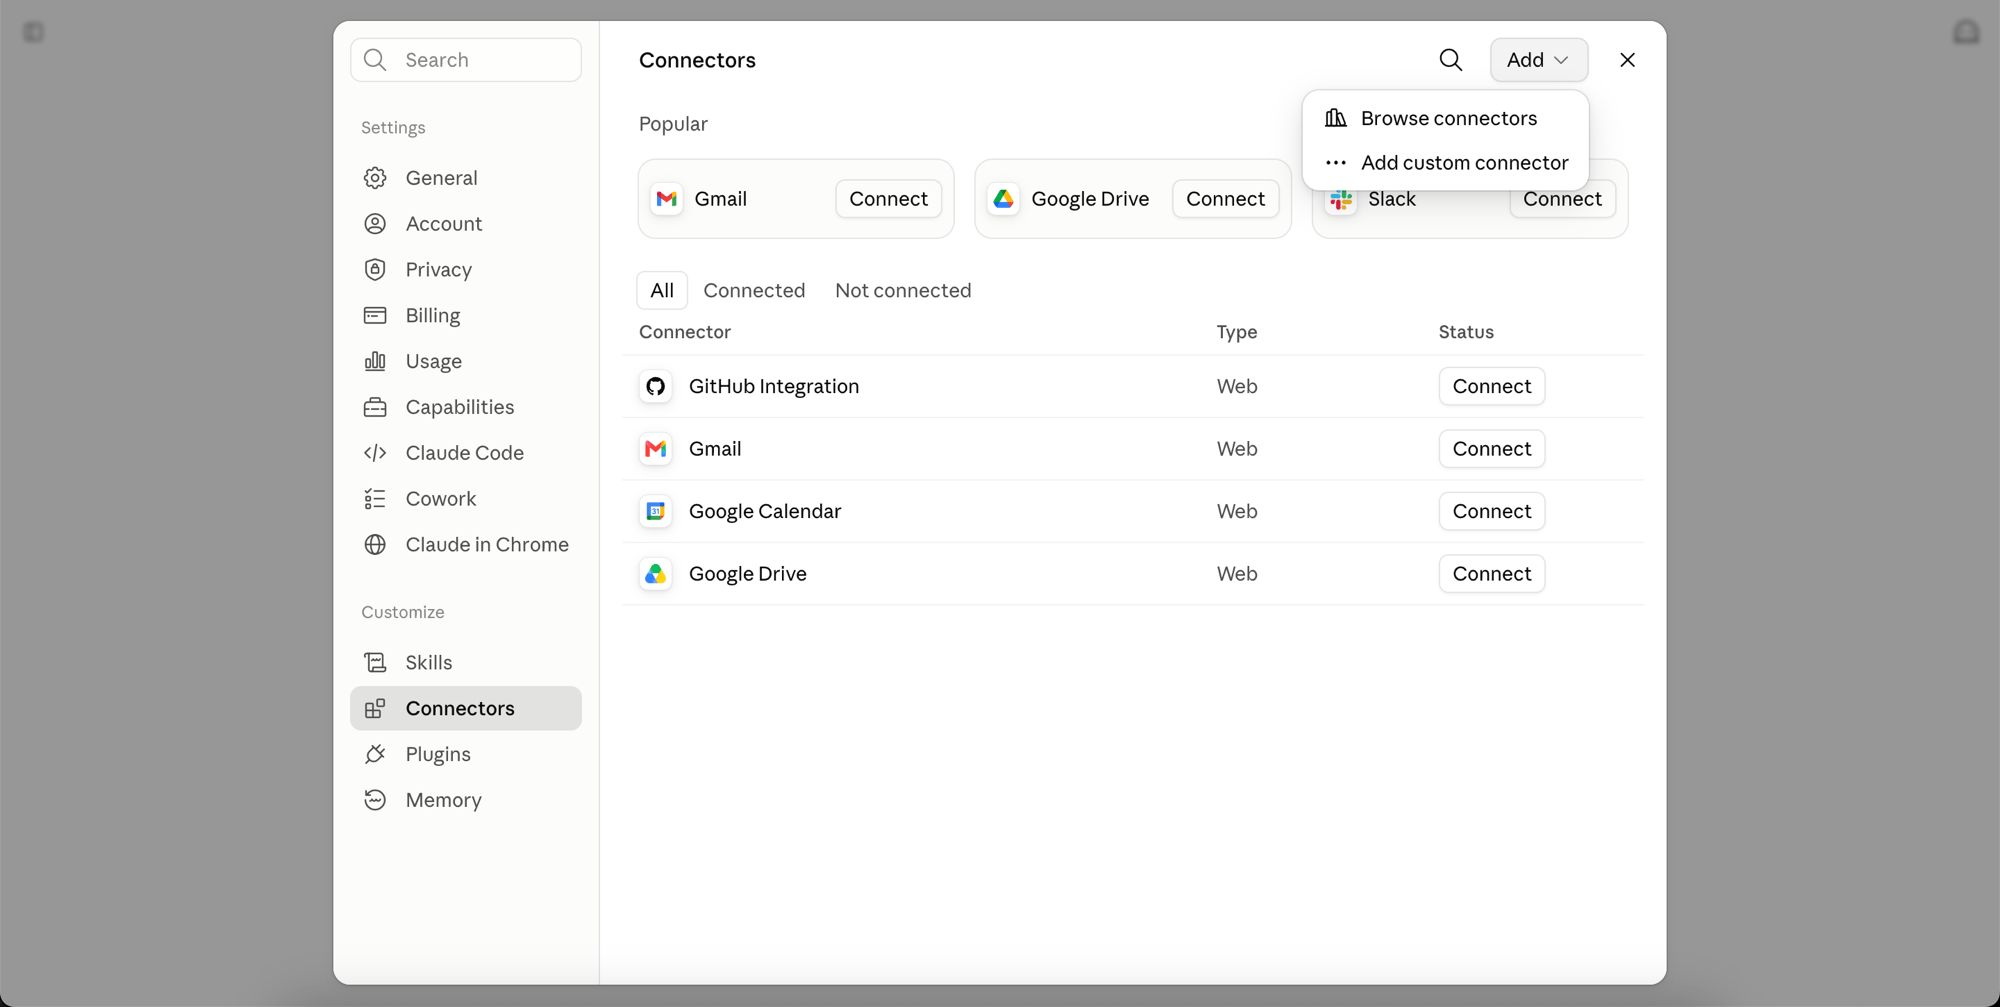
3
Enter the connector details
Give it a name you will recognize, for example 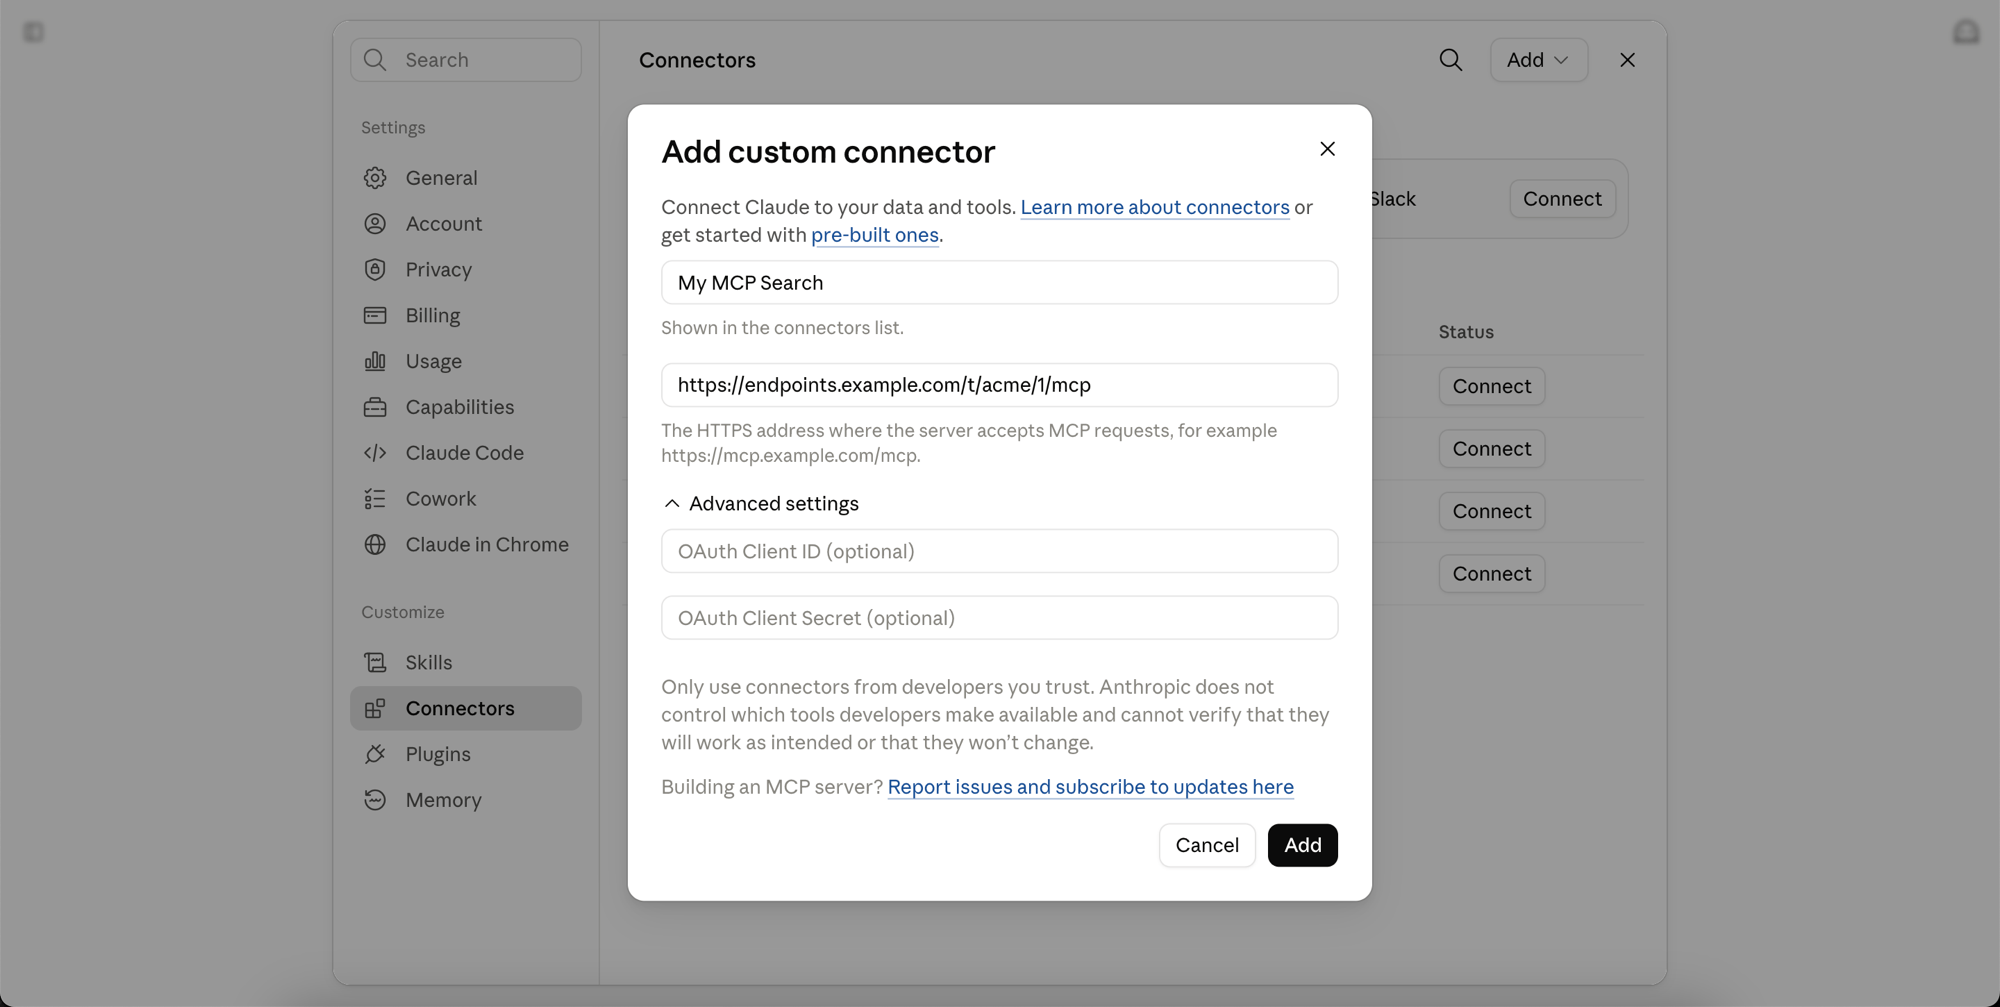
My MCP Search, then paste your connect link into the address field. Claude expects the full HTTPS address the server answers on, ending in /mcp.4
Leave the OAuth credentials empty
Do not enter an OAuth Client ID or OAuth Client Secret. Raily handles the sign-in.
5
Select Add
The connector opens on its own page, showing its address and the line You are not connected yet.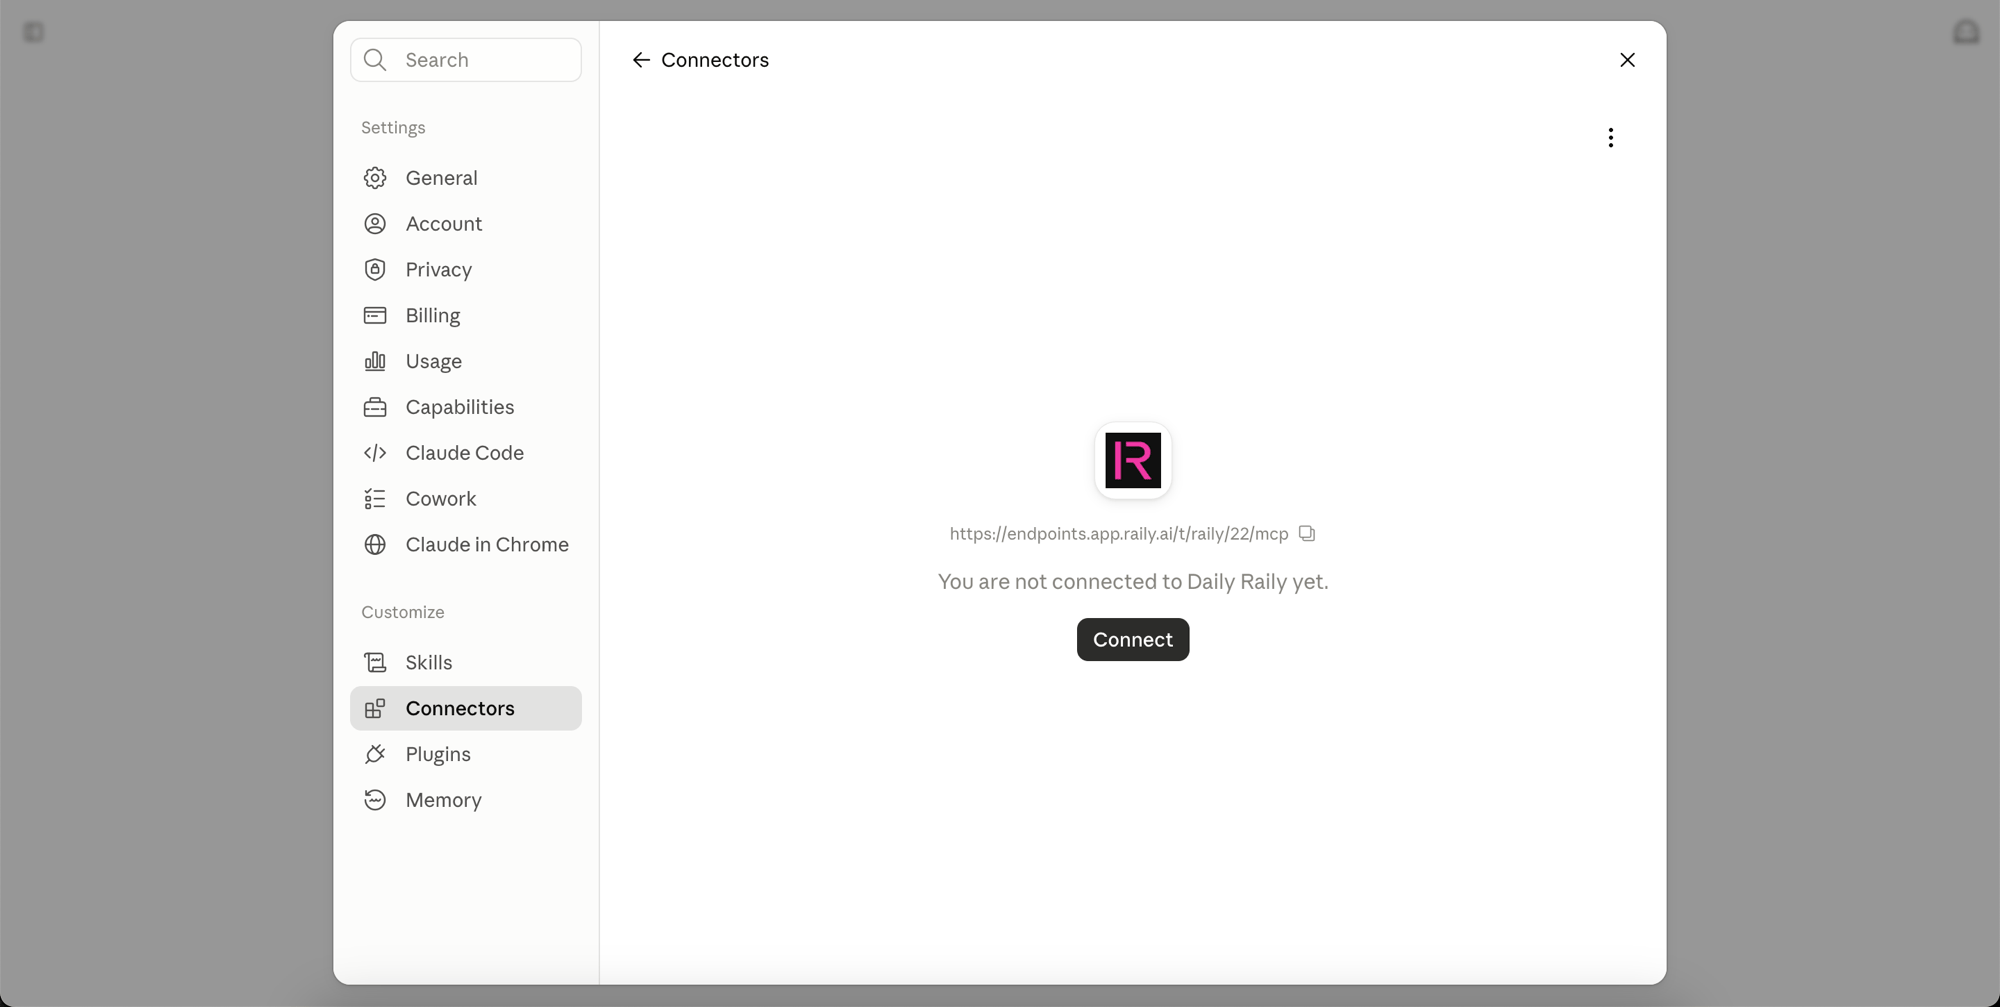
6
Select Connect
This starts the sign-in.
Managed workspace
Use this path on Team or Enterprise. Two people are involved: an Owner sets the connector up once, then each member connects to it.Owner setup
Only an Owner can add a custom connector on Team and Enterprise. An admin who is not an Owner cannot, and neither can a member.1
Open organization connectors
Go to Organization settings, then Connectors.
2
Add a custom web connector
Select Add, hover over Custom, then select Web.
3
Paste the connect link
Enter it as the remote MCP server URL. OAuth credentials under Advanced settings are not needed. Raily handles the sign-in itself.
4
Select Add
The connector becomes available to members. It does not grant anyone access to your content on its own. Each member still signs in to Raily with their own account: the granted email address for a Raily-hosted sign-in, or their own account with your identity provider for a bring-your-own sign-in.
One connector serves the whole workspace, but access is still per person. If the sign-in rejects a member, Claude shows an authorization error.
Member connection
1
Open your connectors
Go to Customize, then Connectors.
2
Find the Raily connector
An Owner already added it. If it is not there, ask an Owner to complete the setup above.
3
Select Connect
This starts the sign-in.
Sign in to Raily
After you add or connect the endpoint, Claude opens the Raily sign-in flow. What appears after the first Raily screen depends on the endpoint’s sign-in provider.1
Confirm the connection
The first screen is headed Connect Claude to the Organization name shown to users. It lists what Claude will be able to do: view your email address, view your basic profile, and remember the connection. Check the client and Organization, then select Continue. Cancel stops the connection.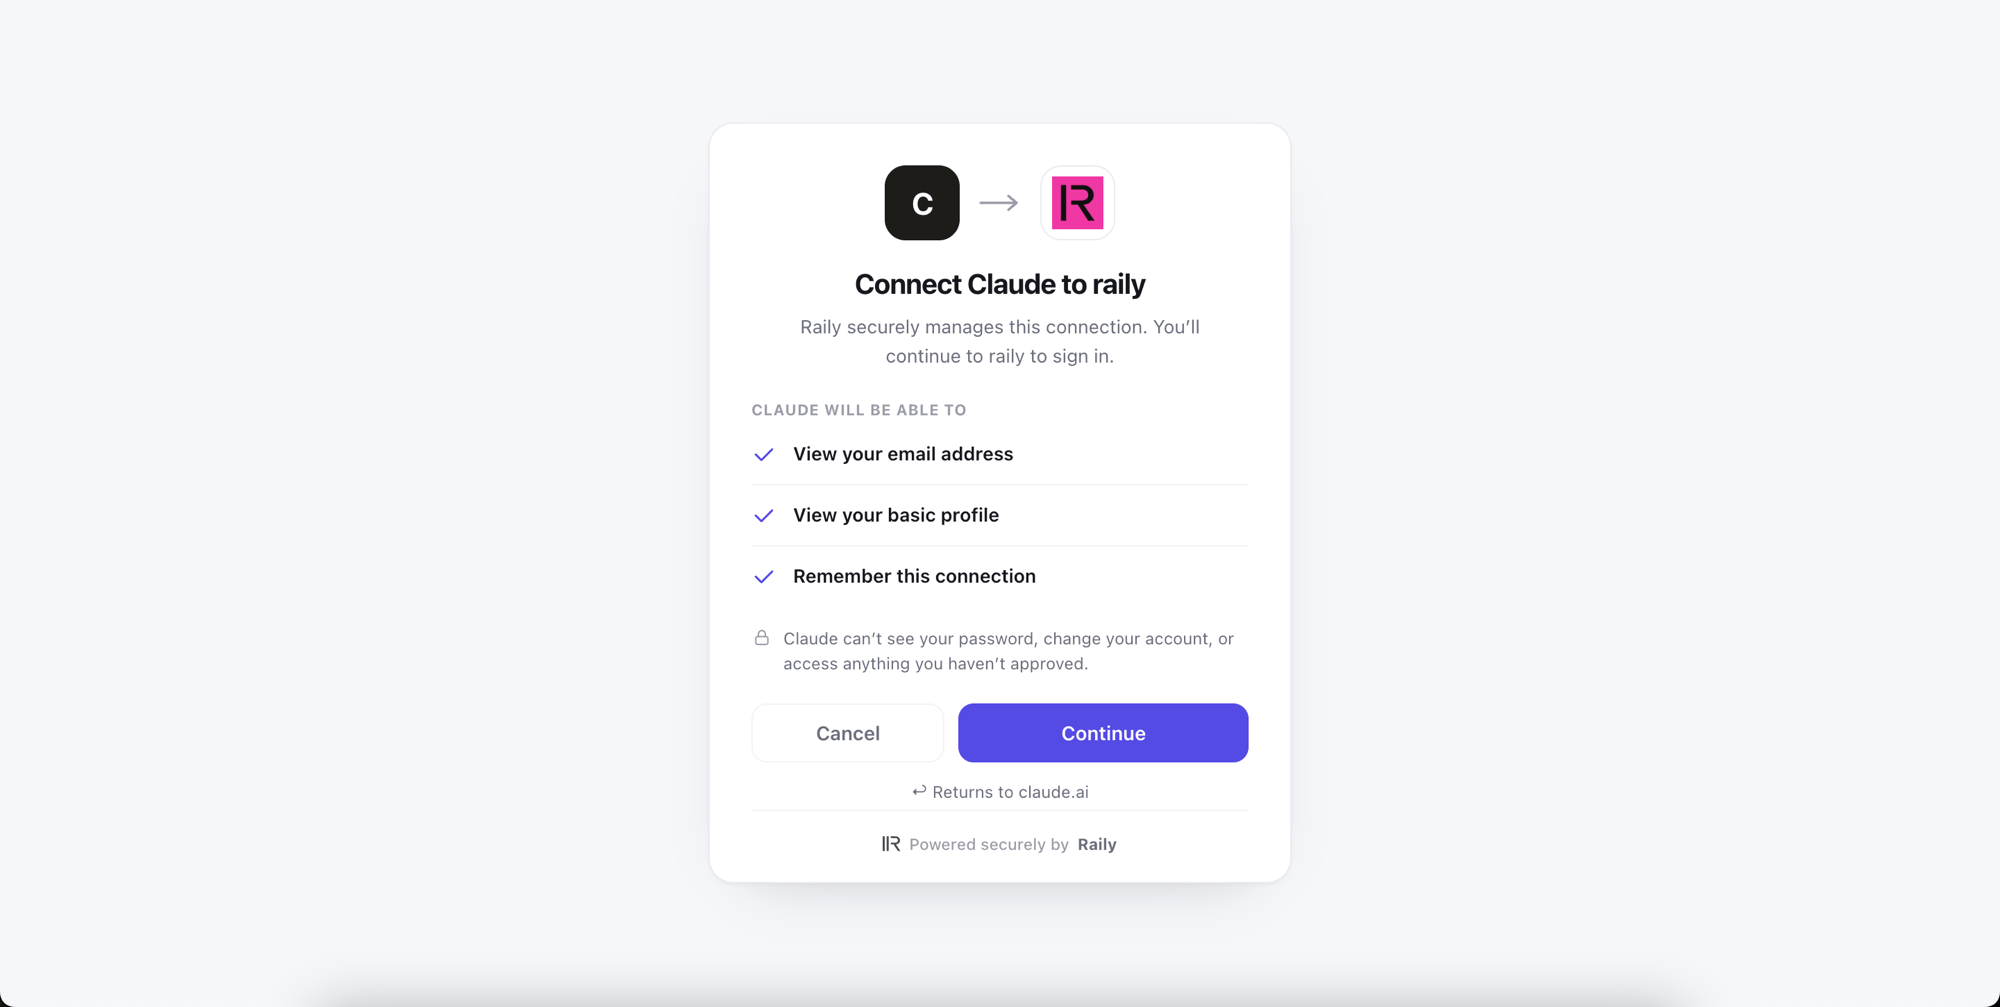
2
Continue with the sign-in provider
For a Raily-hosted sign-in, use the granted email address. A different account may be refused.For a bring-your-own sign-in, Raily sends you to the identity provider configured for the endpoint. Use your normal account there and complete any prompt that provider shows. Your provider controls who may continue.
3
Finish a Raily-hosted sign-in
This step appears only for a Raily-hosted sign-in. The second Raily screen shows Signed in as your address and what the app will be able to do, including searching your endpoint. If the address is wrong, use Not you? Switch account rather than continuing. Otherwise select Allow access.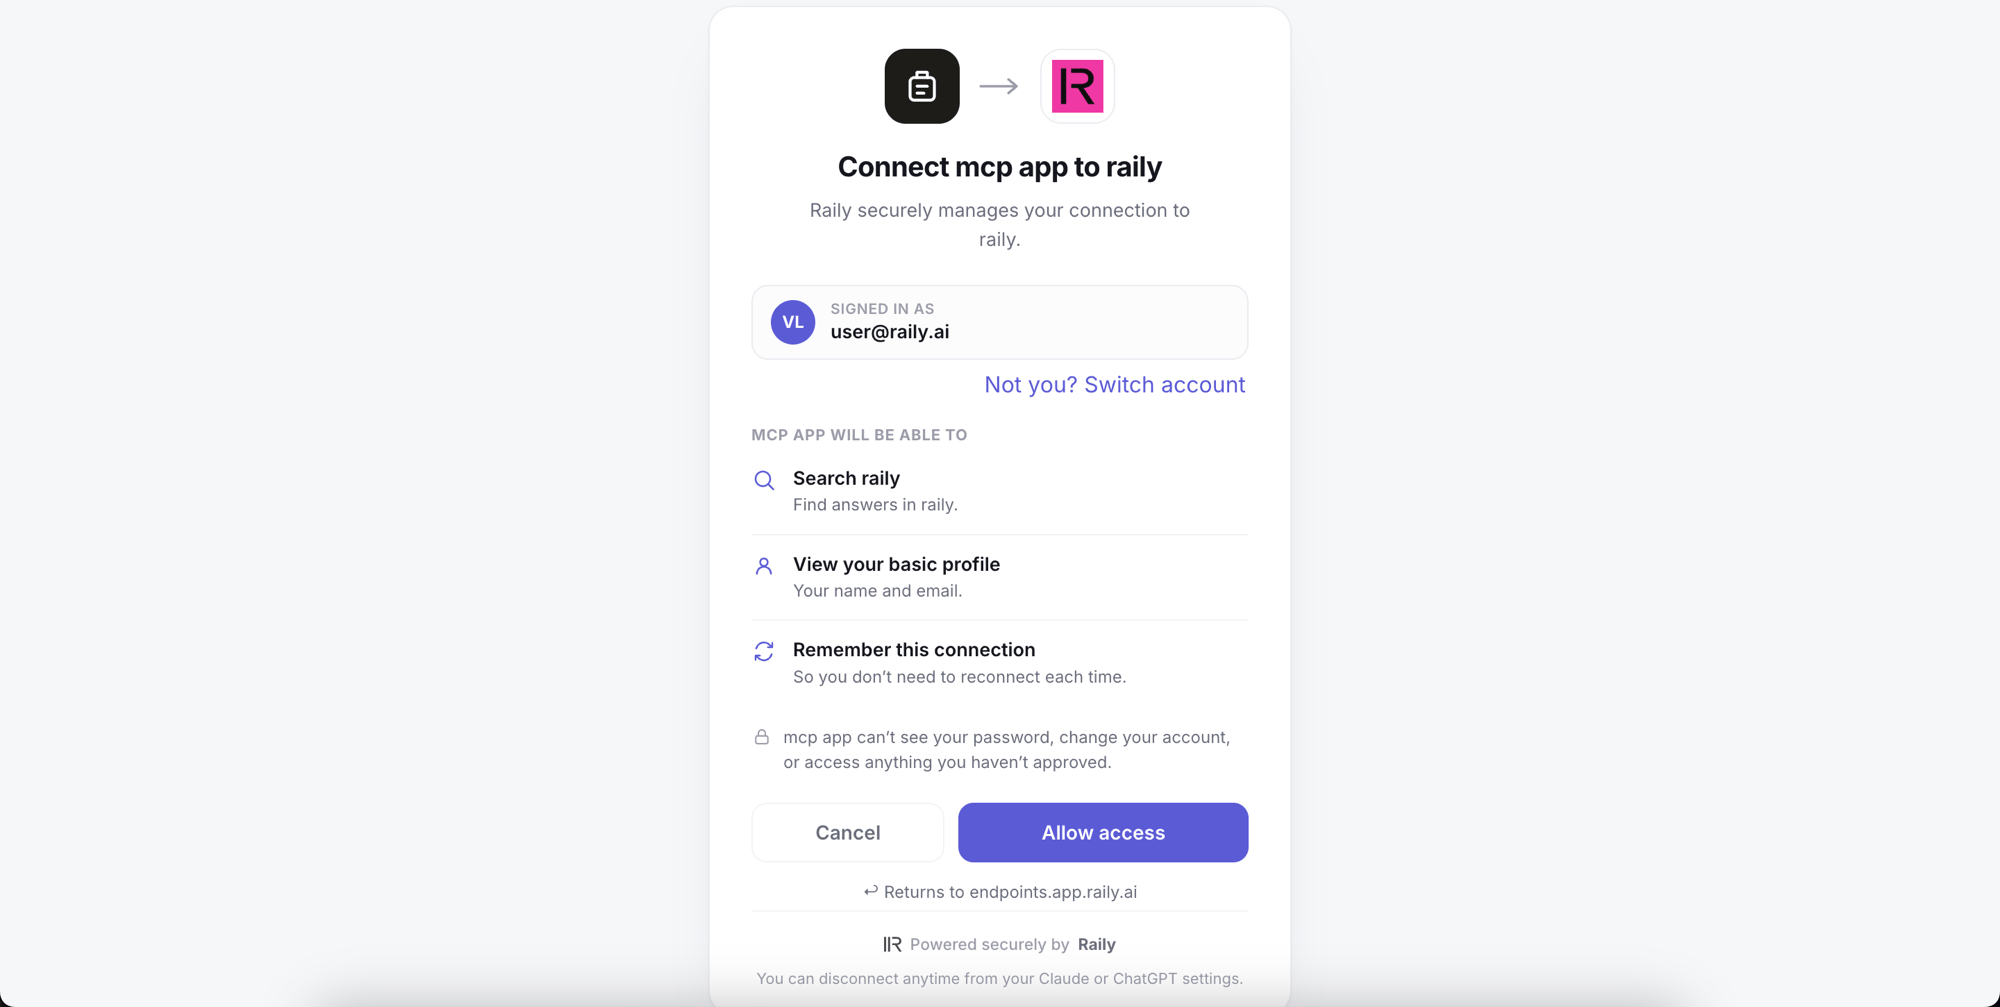
The consent flow lets Claude use the endpoint as your signed-in identity. It does not create or widen a Raily-hosted endpoint grant. Check the Organization name and signed-in account before you continue.
Set tool permissions
Open the connector from Customize, then Connectors, and look at Tool permissions. A new connector starts at Needs approval, which means Claude checks with you before it uses the search tool. Keep Needs approval if you want to approve each search. Choose Always allow to let Claude search without asking first. Blocked turns the tool off without disconnecting it.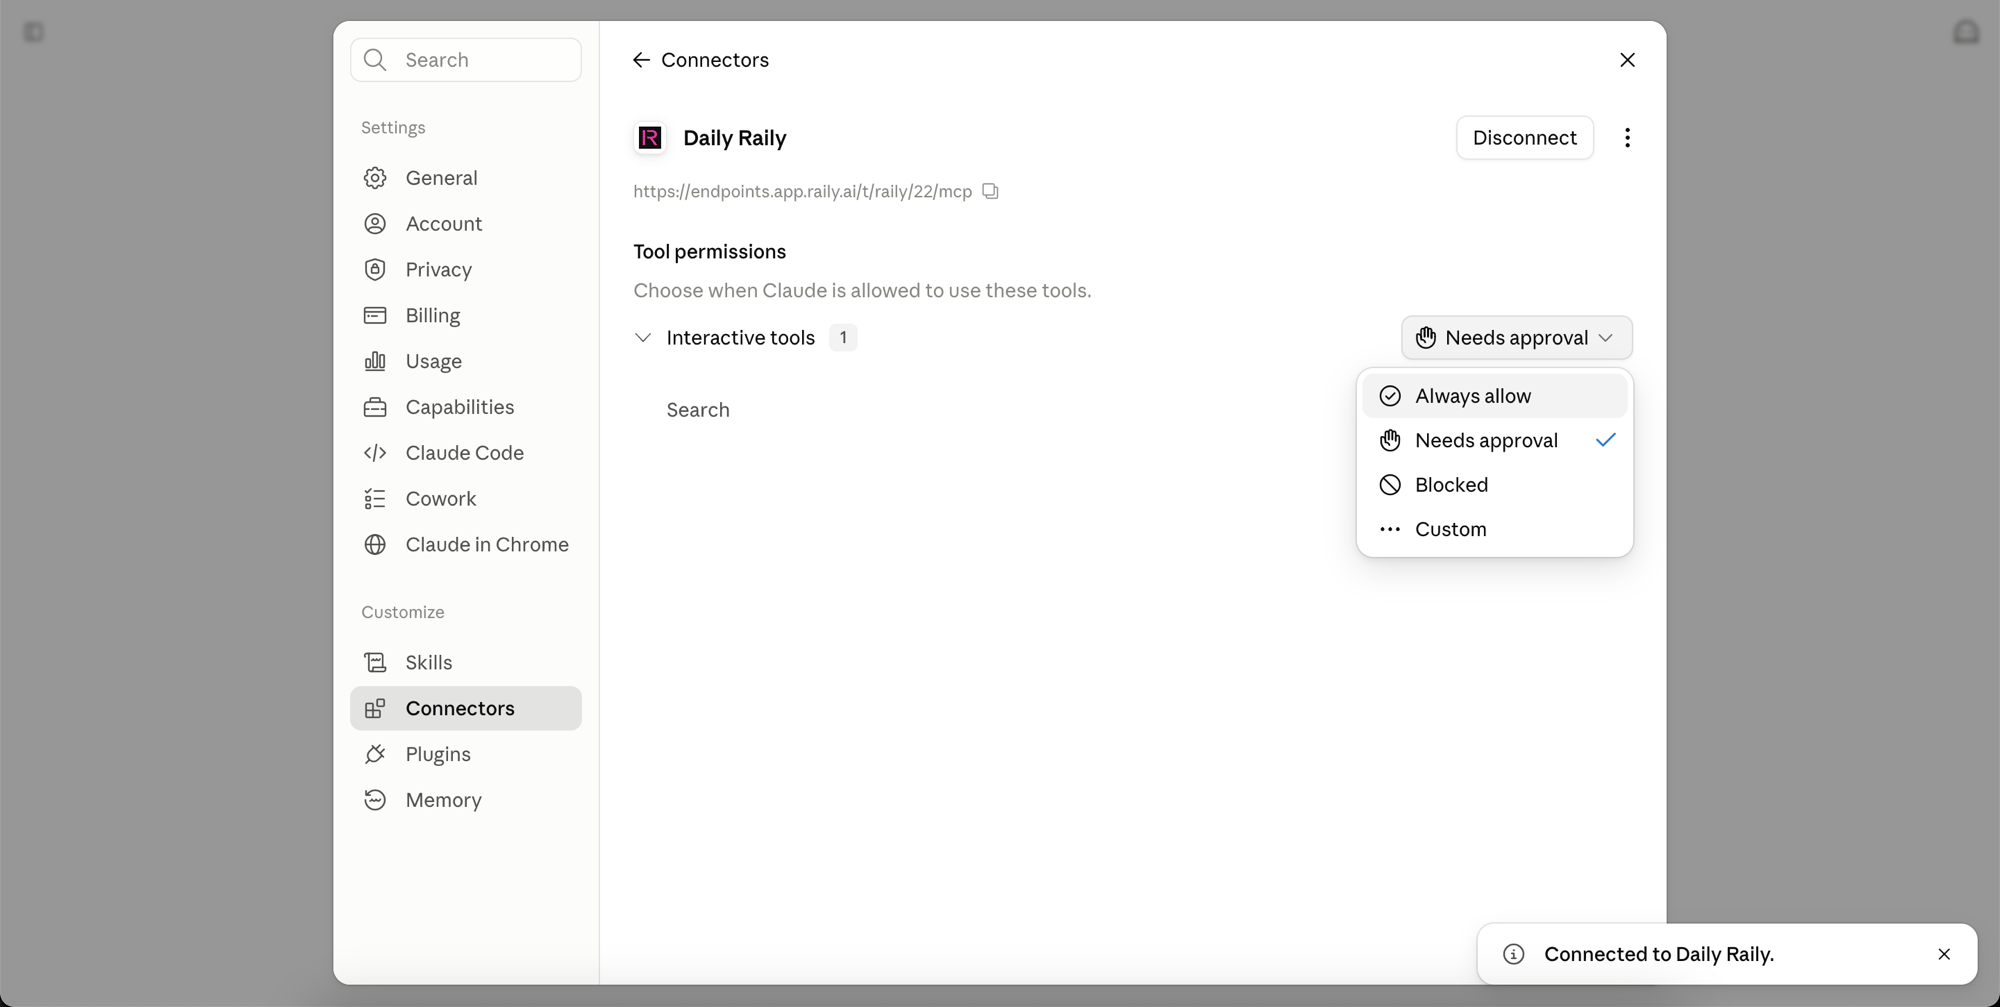
Turn the connector on
A connected connector is not automatically active. You switch it on from the composer. In a conversation, select +, open Connectors, and switch Raily on.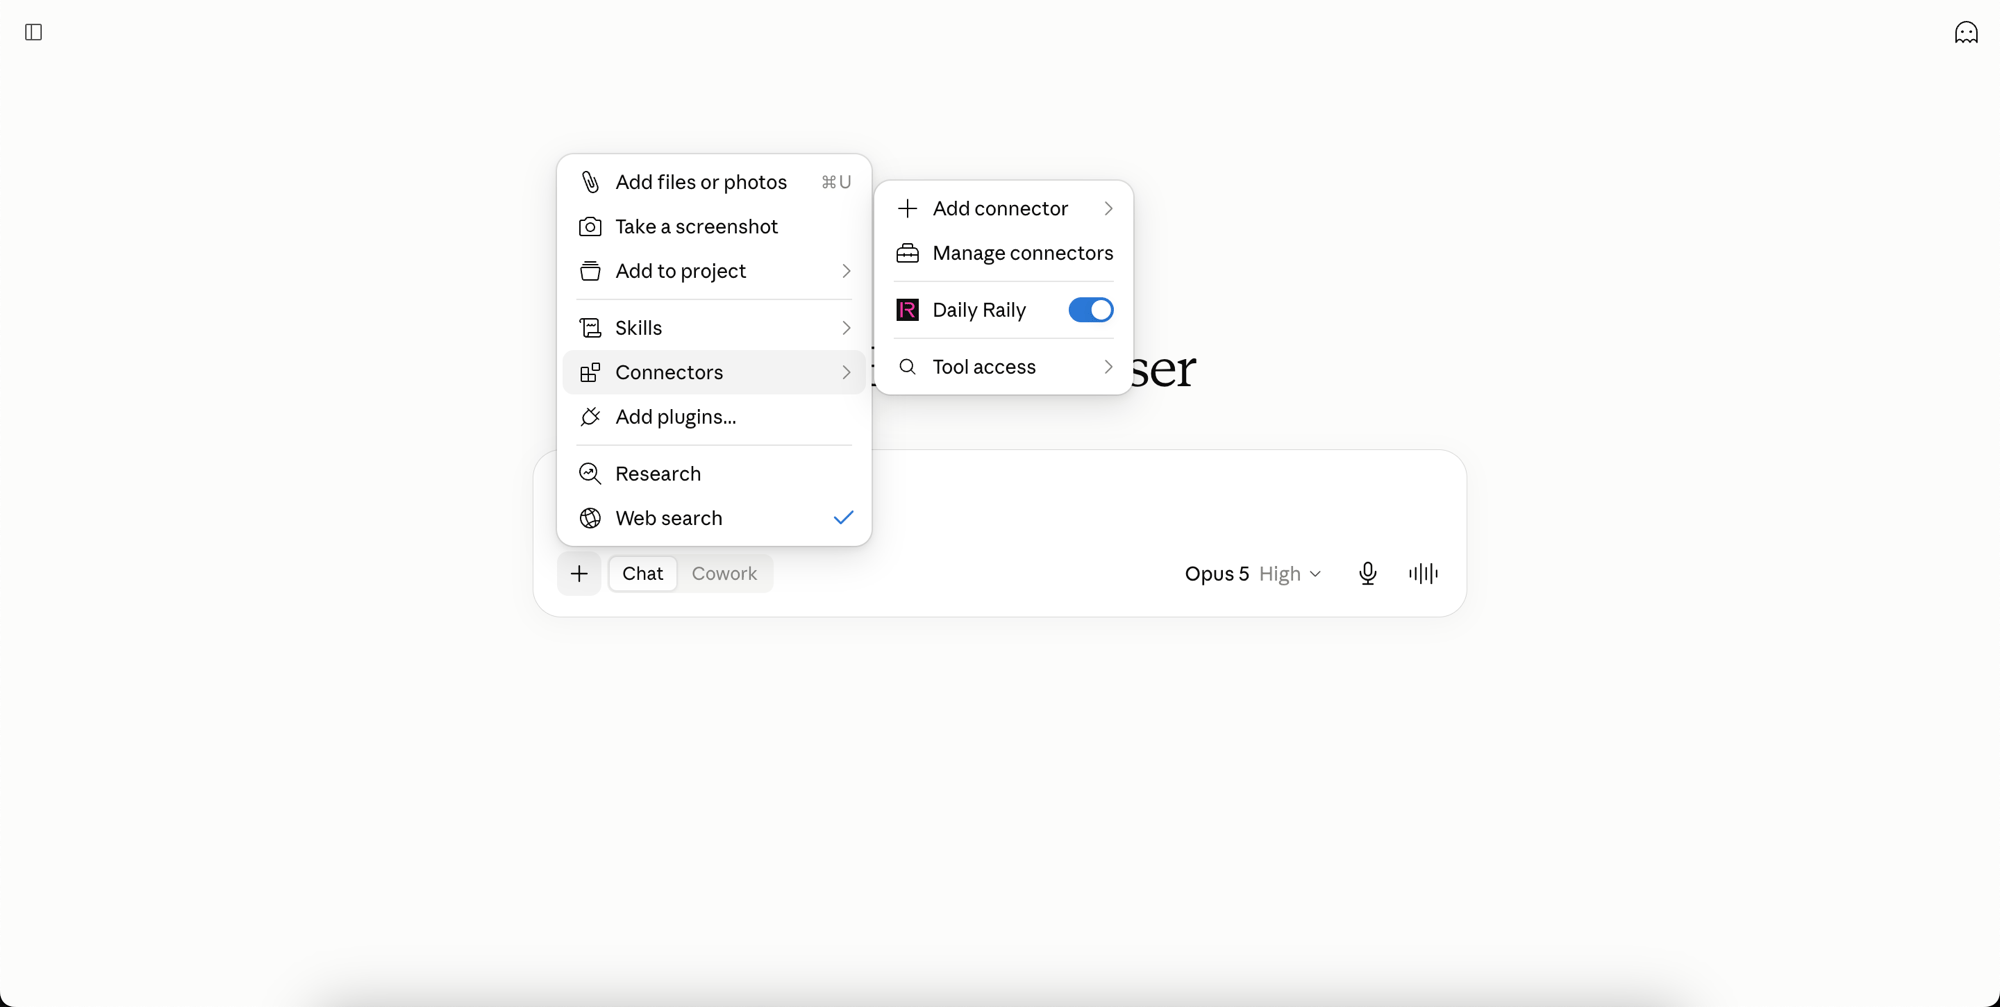
Check that it works
A connected status confirms that Claude completed authorization. It does not confirm that search returns results. Ask a question that your source content answers. Confirm that Claude uses your content rather than general knowledge.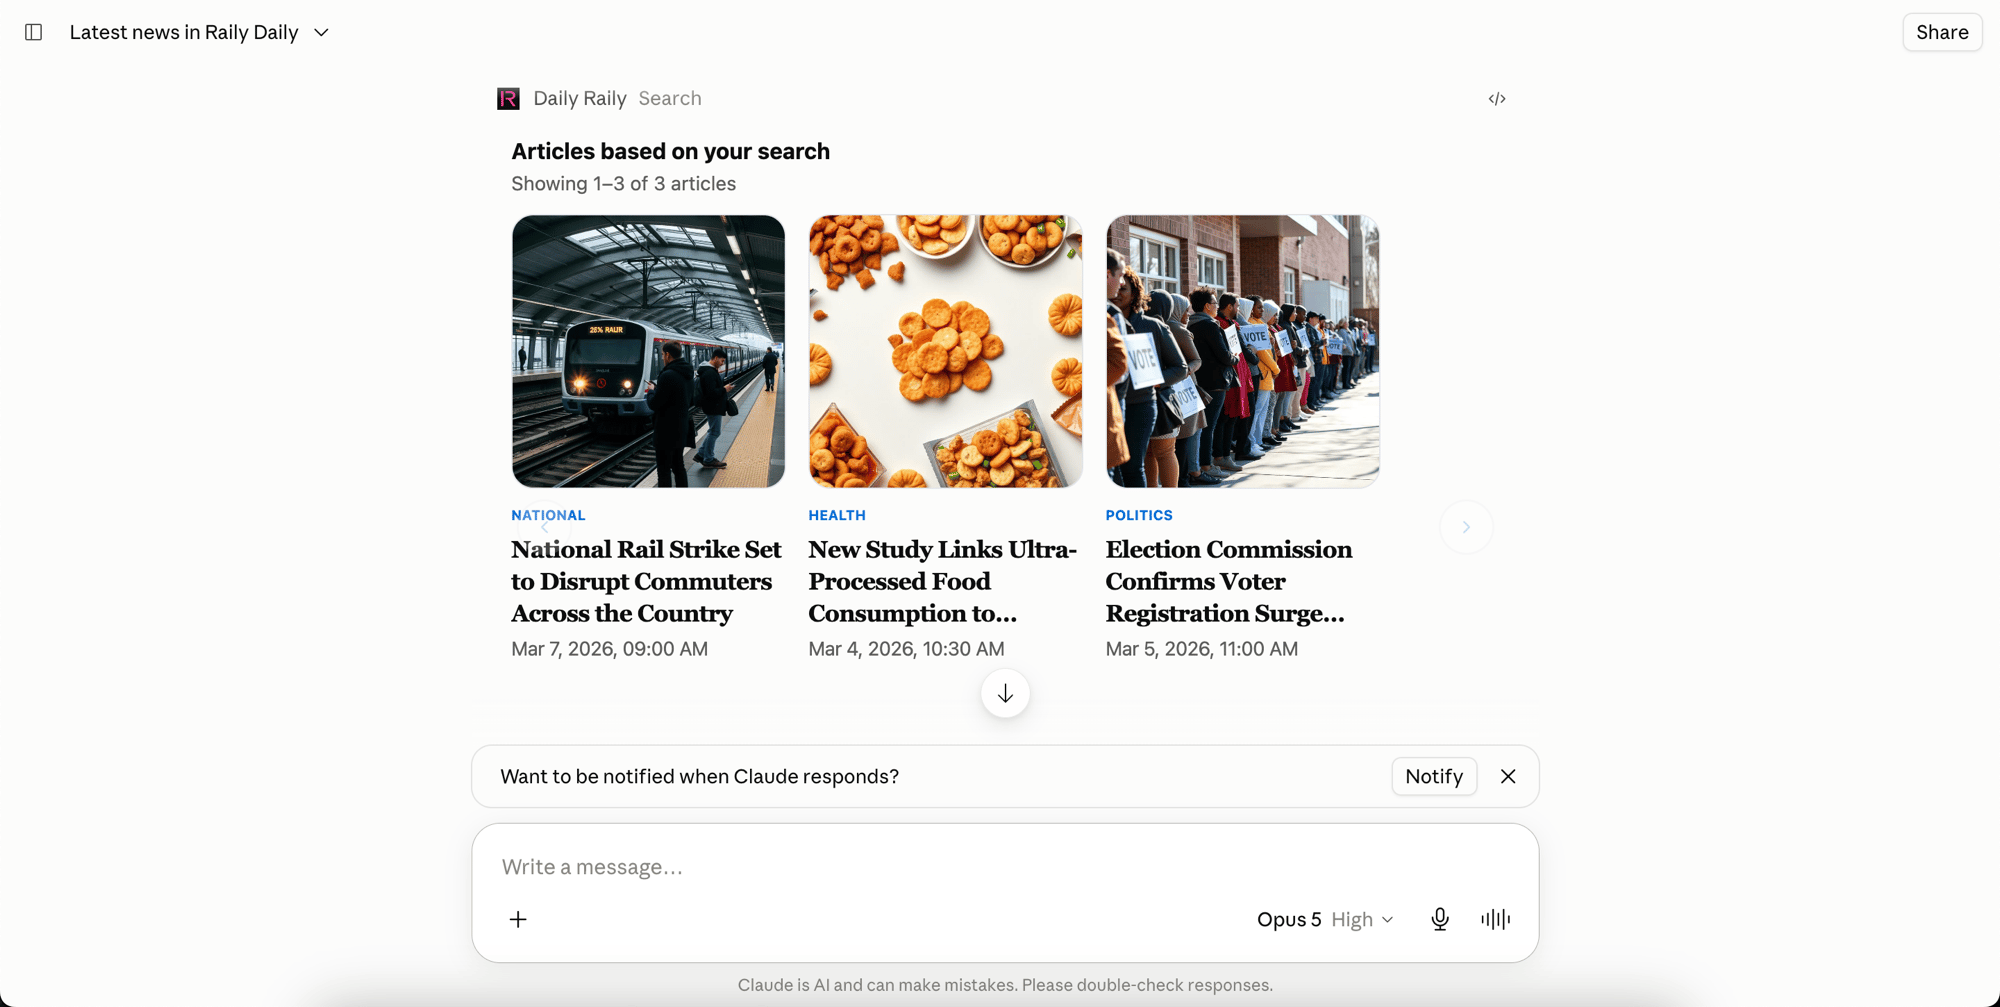
Troubleshooting
There is no option to add a custom connector. On a Team or Enterprise workspace only an Owner can add one. Being an admin is not enough. Ask an Owner to do the setup above. The connector is missing from your list on a managed workspace. An Owner has not added it yet, or added it to a different workspace. You already have a custom connector on a Free account. Free accounts are limited to one. Remove the other connector or move to a paid plan. Authorization fails. For a Raily-hosted sign-in, confirm that the account matches the granted email and that the grant covers this endpoint. For a bring-your-own sign-in, check that your identity provider admits the account and that its provider configuration is valid in Raily. You connect successfully, but every search is empty. Ask a question you know the endpoint’s source can answer. If the result is still empty, check the source data, indexing status, saved search configuration, and query. You reach one endpoint but not another. Each endpoint has its own connect link. With a Raily-hosted sign-in, confirm that the grant scope includes the other endpoint, then ask for that endpoint’s link. With a bring-your-own sign-in, confirm that the endpoint uses your provider and that the provider admits your account, then ask for its link. You had access and lost it. With a Raily-hosted sign-in, an administrator may have changed or removed your endpoint grant; that change applies on your next request. With a bring-your-own sign-in, check your account in your identity provider, then ask the administrator to check the provider’s status and configuration in Raily. The connect link does not work at all. Check that you pasted the whole URL. A truncated link fails at the first request. The connector is connected, but Claude answers from general knowledge. Connected does not mean enabled for the current conversation. Open +, then Connectors, and check that Raily is on before you ask again.Next steps
Connect to ChatGPT
Follow the ChatGPT setup
Add and manage users
Grant Raily-hosted user access